Easy Recipes

My Most Popular Recipes
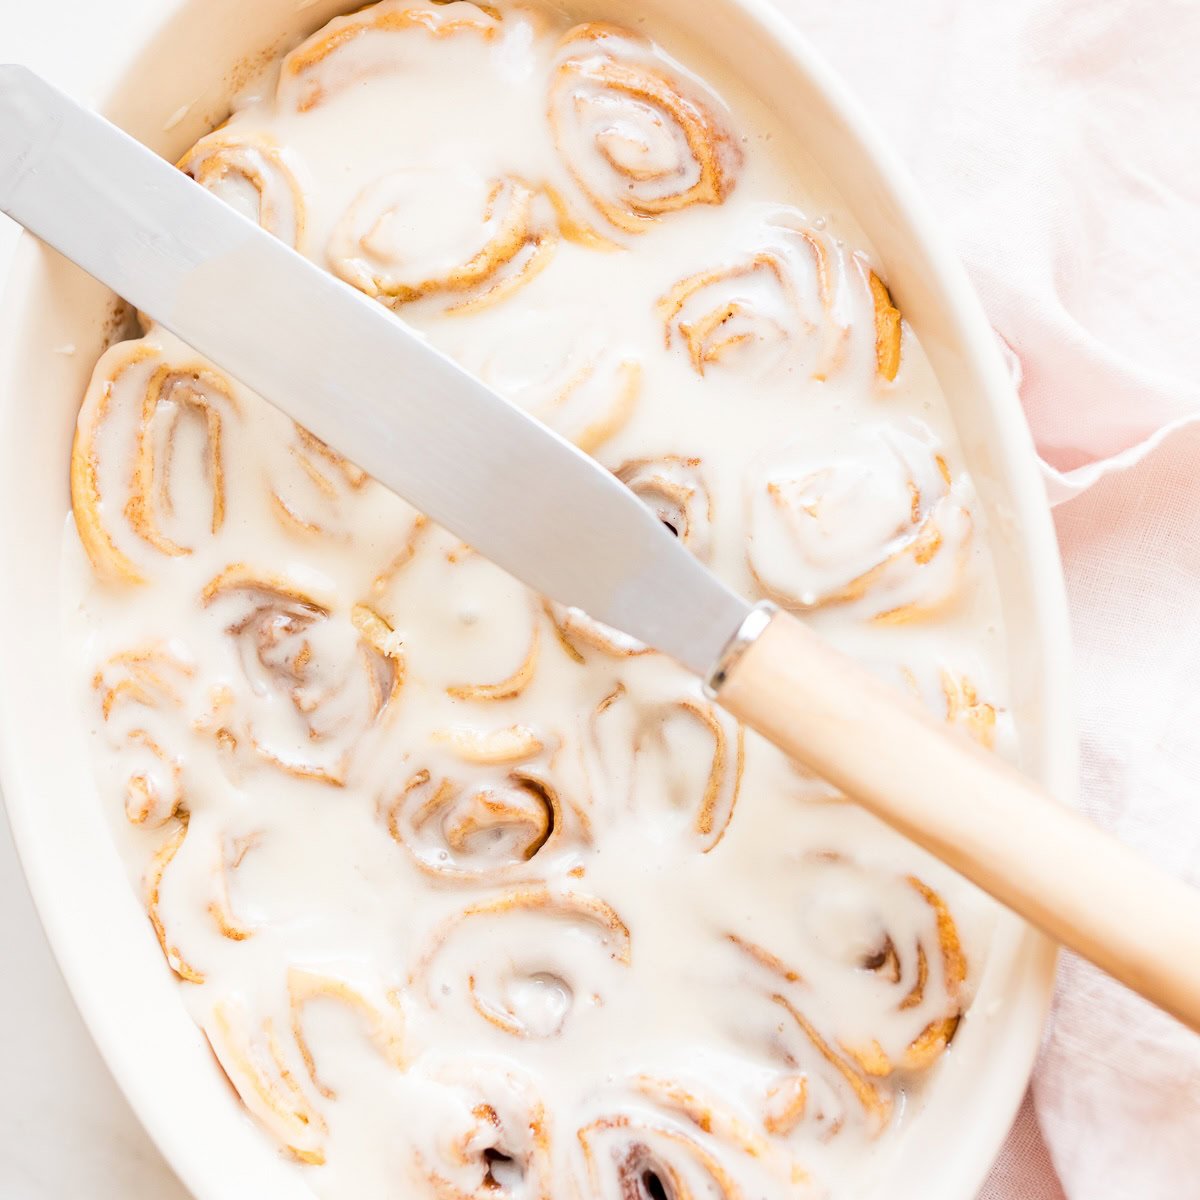
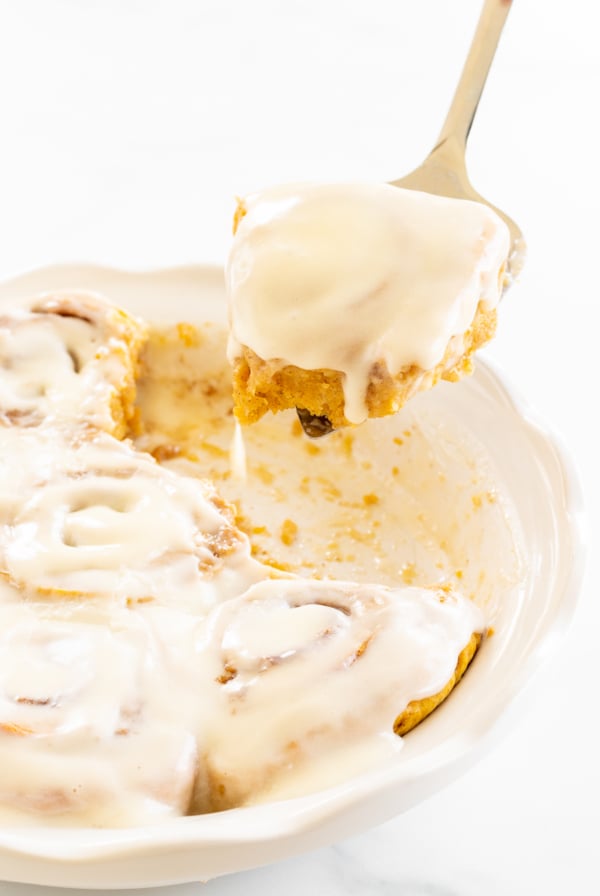
My Most Popular Recipe
Over 10 years ago, I tested and perfected the ultimate Cinnamon Roll Icing recipe – without cream cheese. It’s luxuriously creamy and coats rolls beautifully, seeping into each crevice for the most succulent bite. It’s tasty, tried and true with over 400 5 star reviews! I can’t wait for you to try it, too!

Welcome!
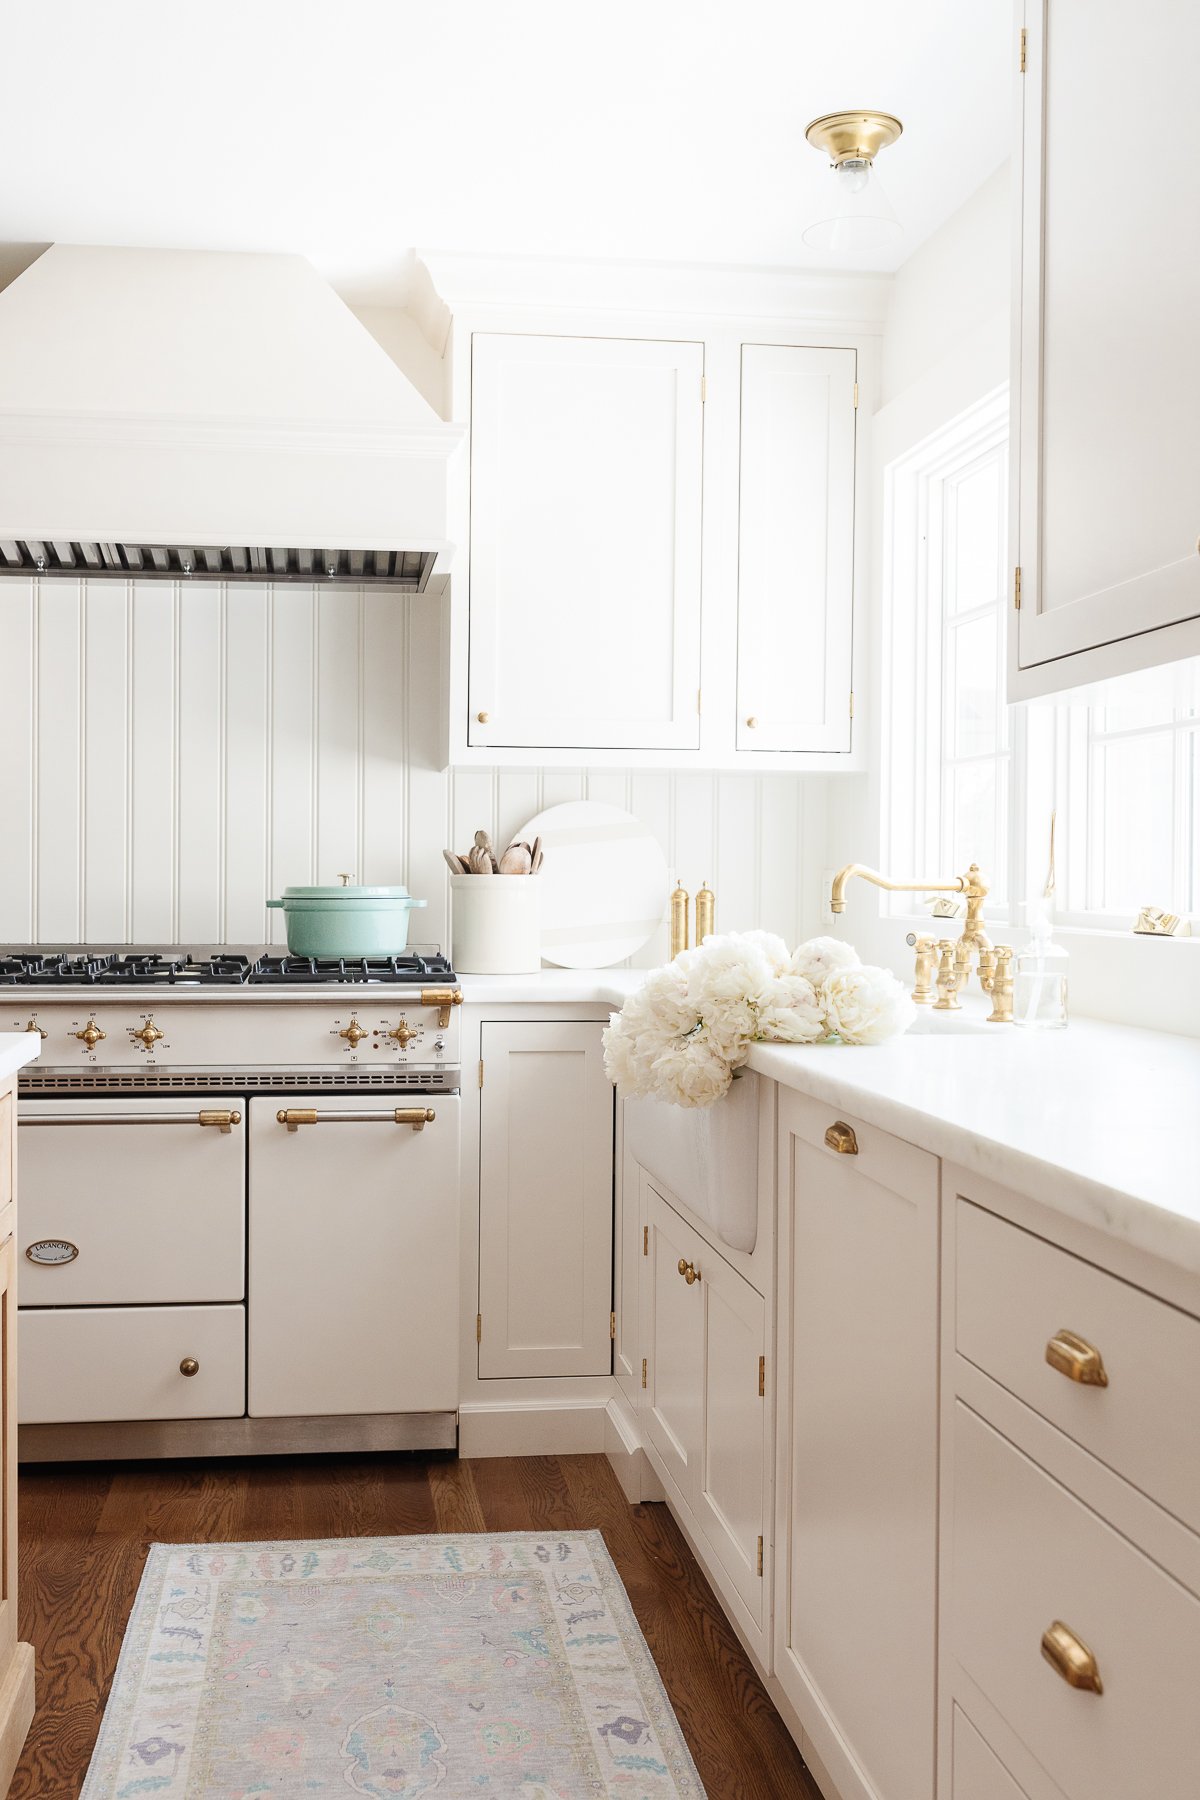
Hi, I’m Julie! I am a former caterer and mother of 3. I have been sharing effortless recipes for everyday that are elegant for entertaining that all ages and levels of expertise can make since 2007. You’ll find dinner ideas, easy appetizers, delicious desserts, dips, soups, salads and more. You may have seen my recipes in Better Homes & Gardens, MSN, The Today Show, Parade and more!
find the perfect recipe
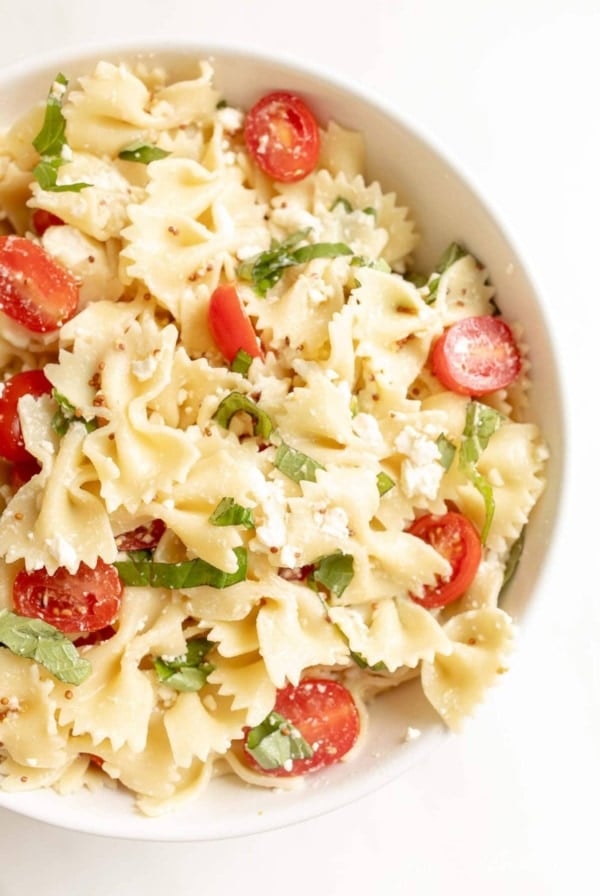
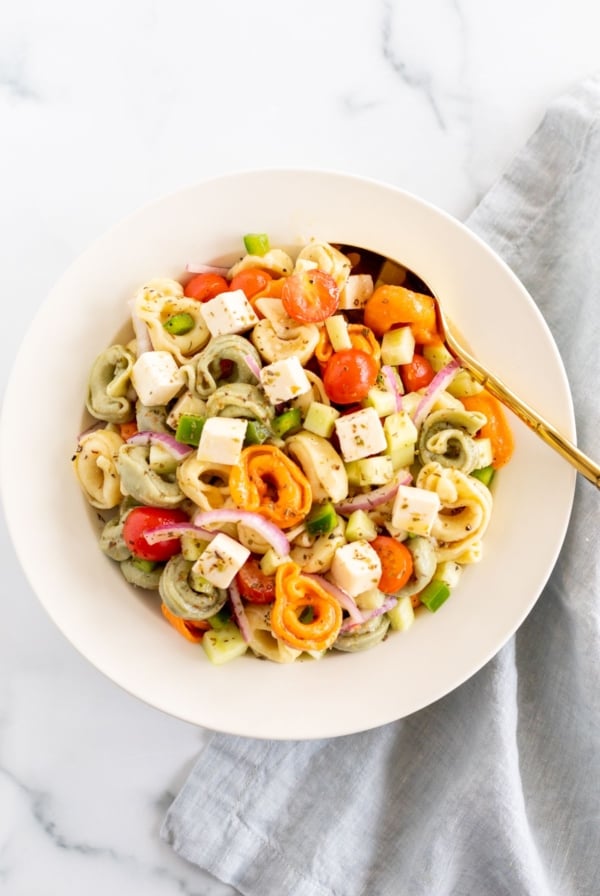
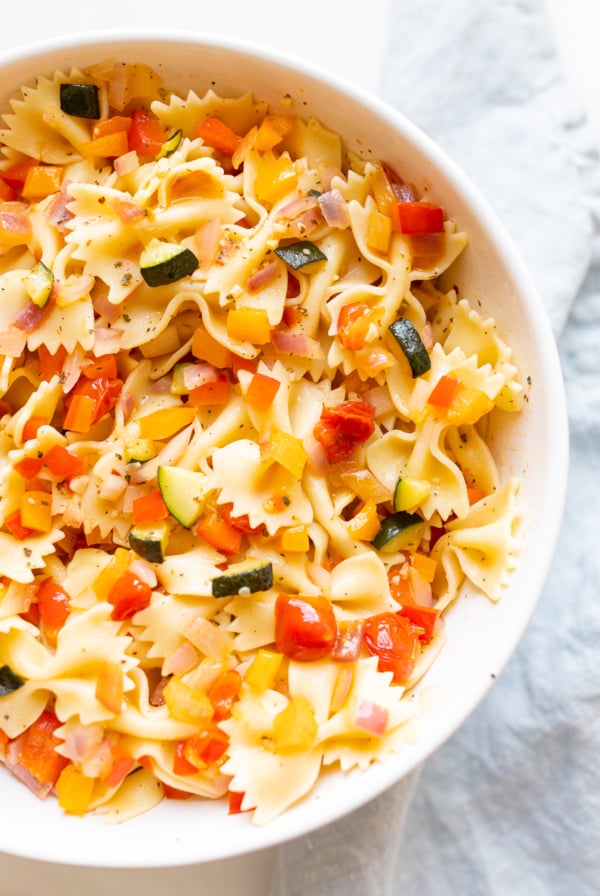
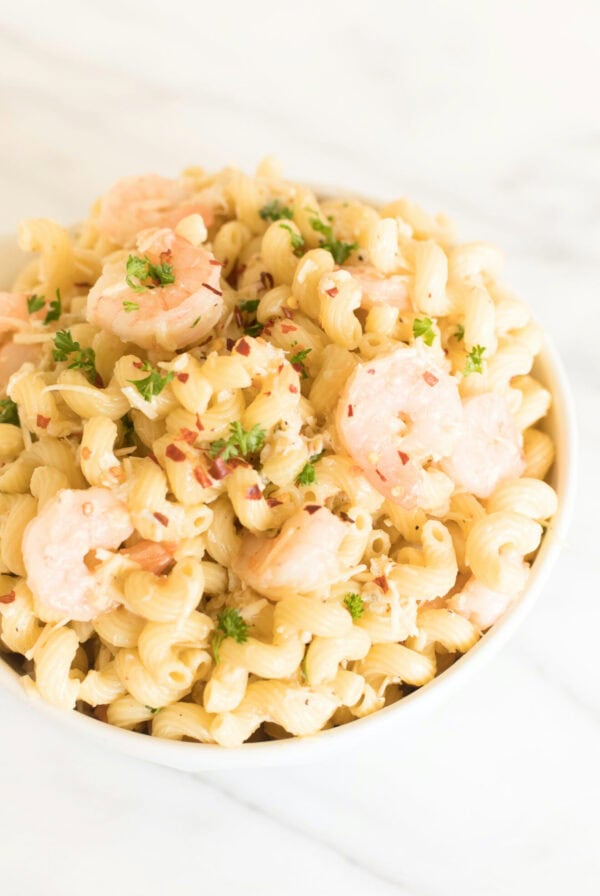
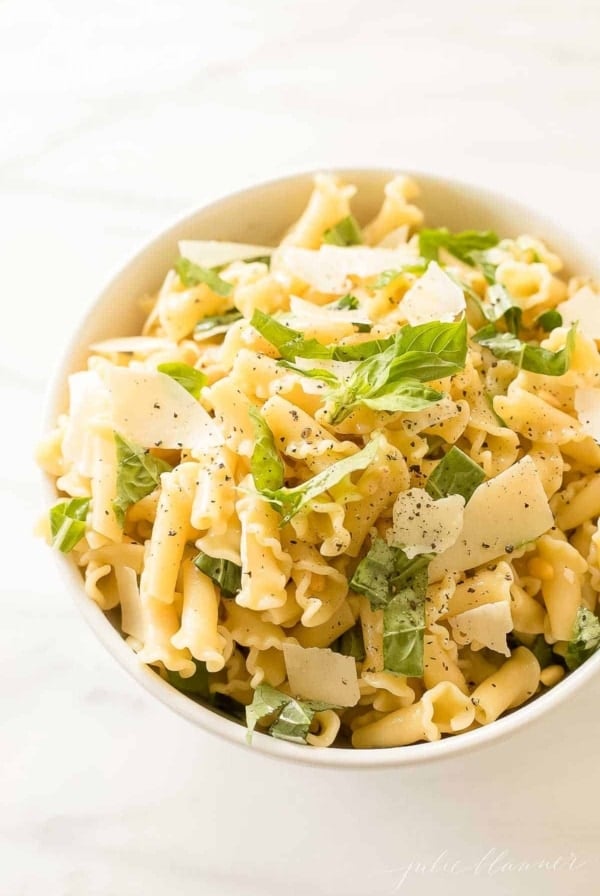
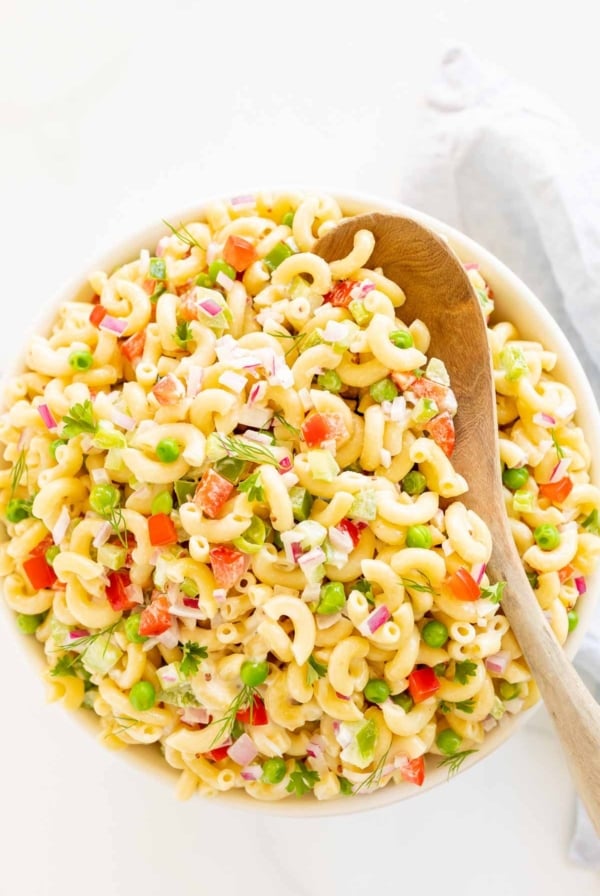
Pasta Salads
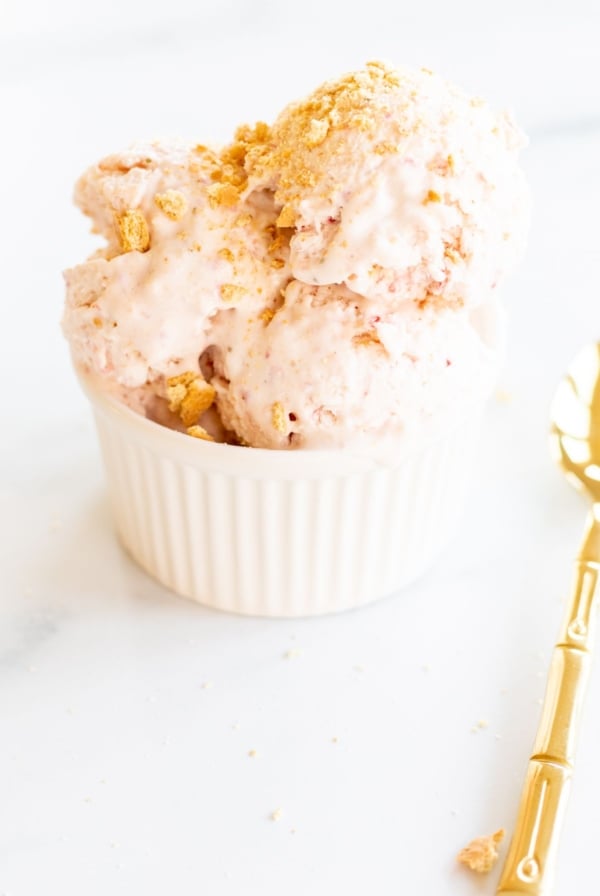
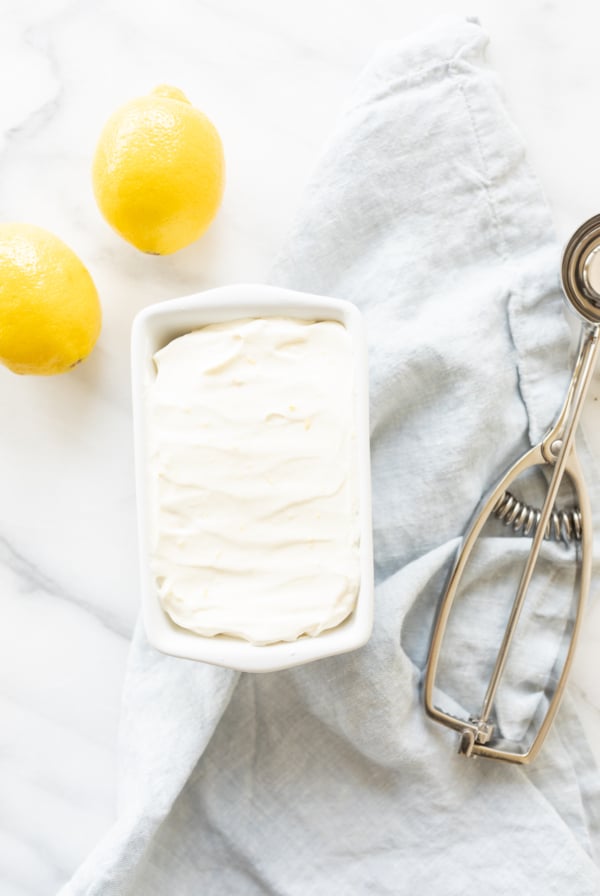
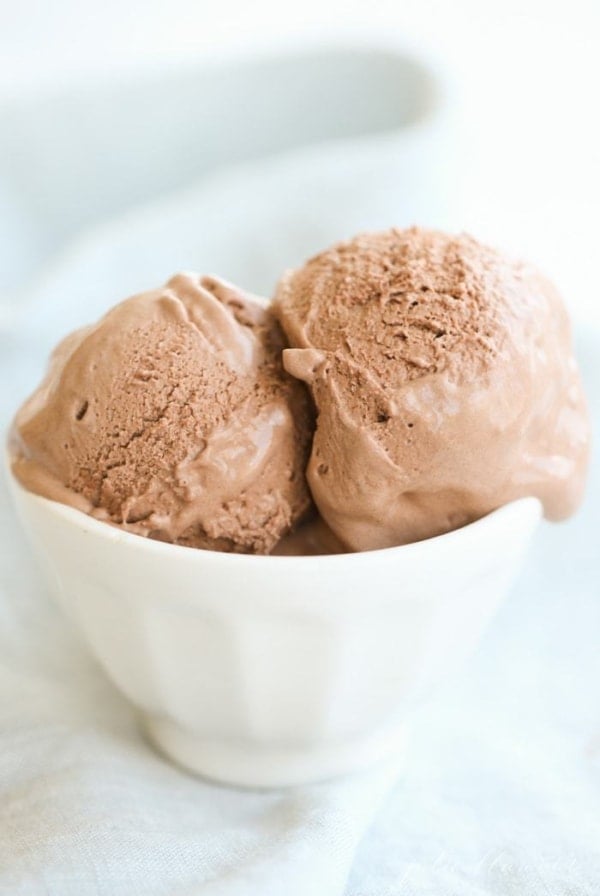
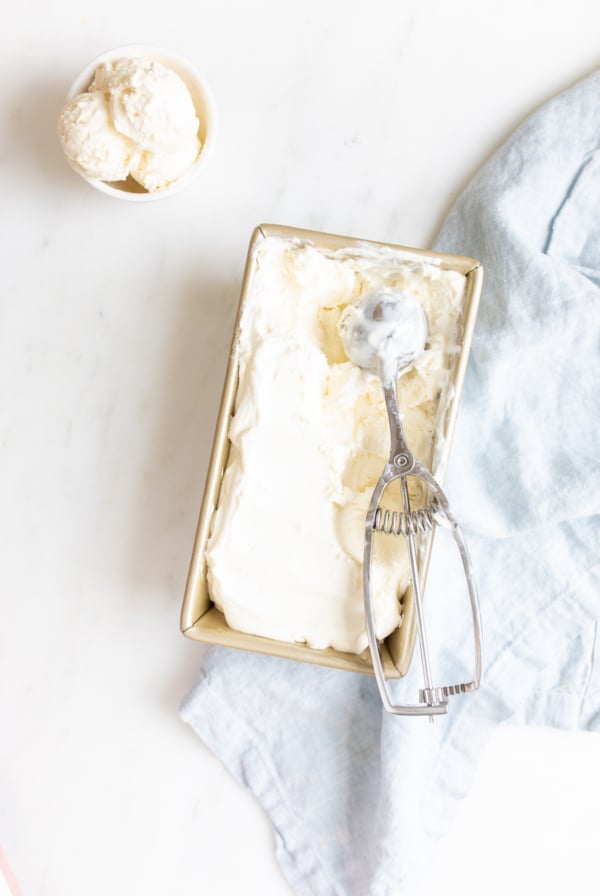
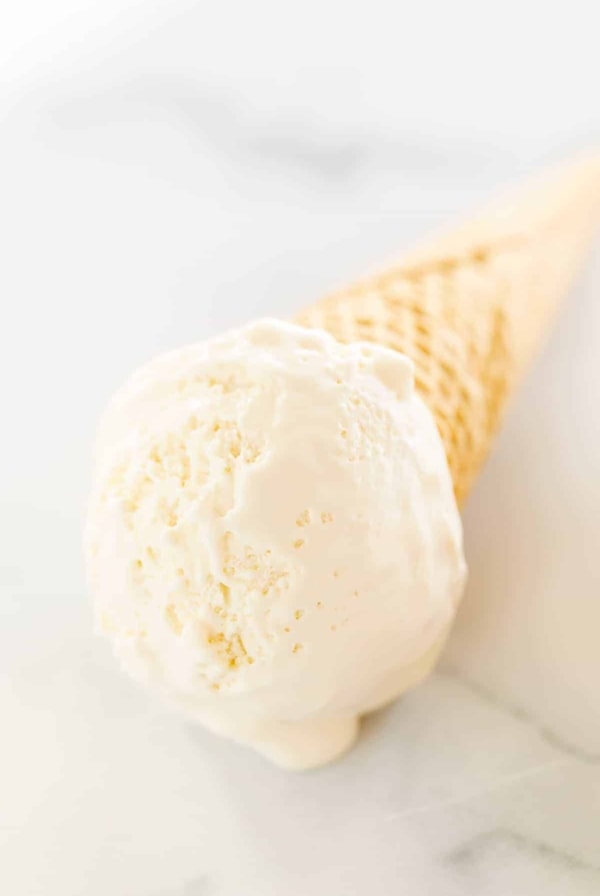
Popular No Churn Ice Cream Recipes
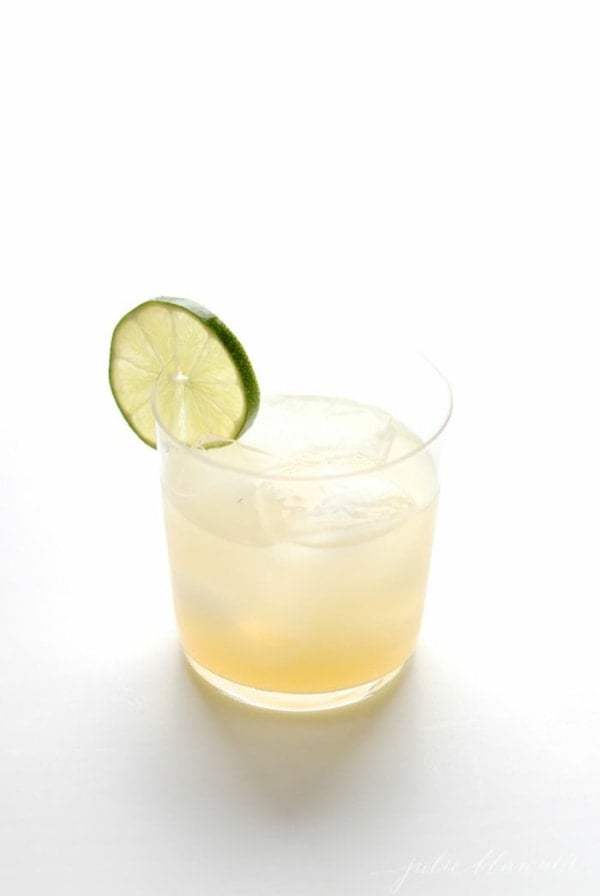
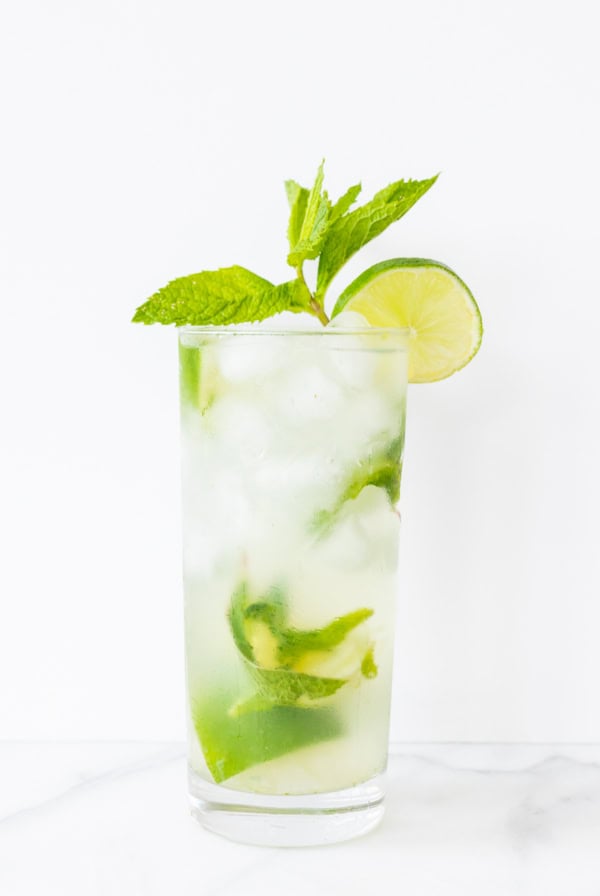
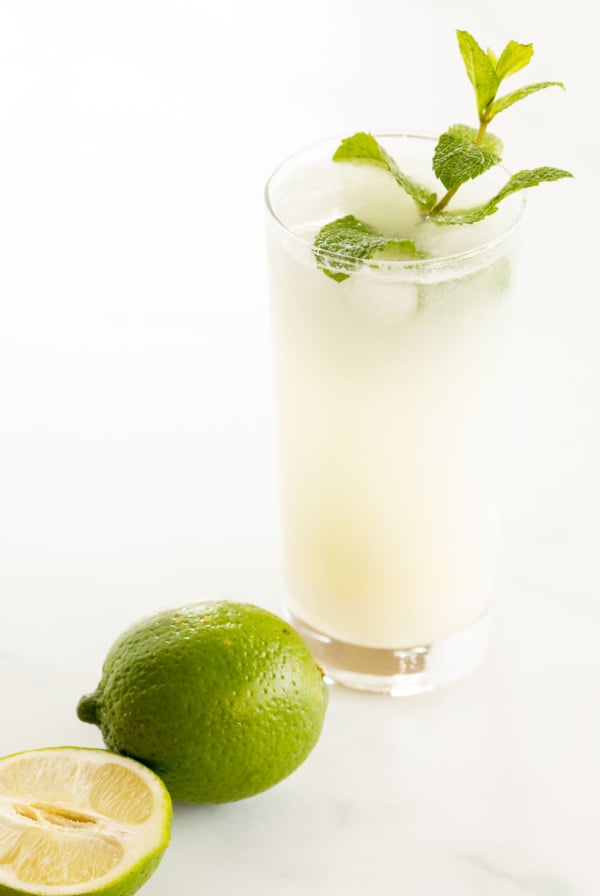
Summer Sips


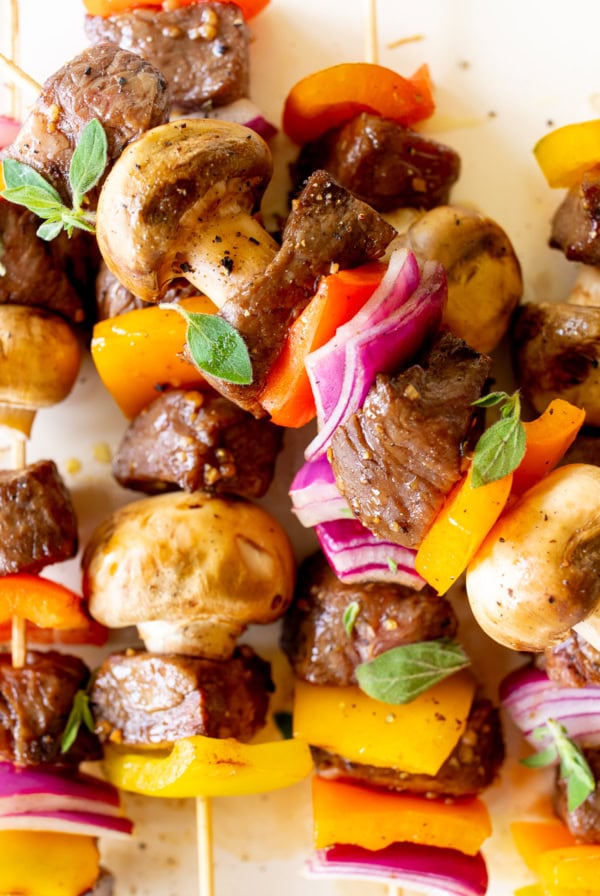
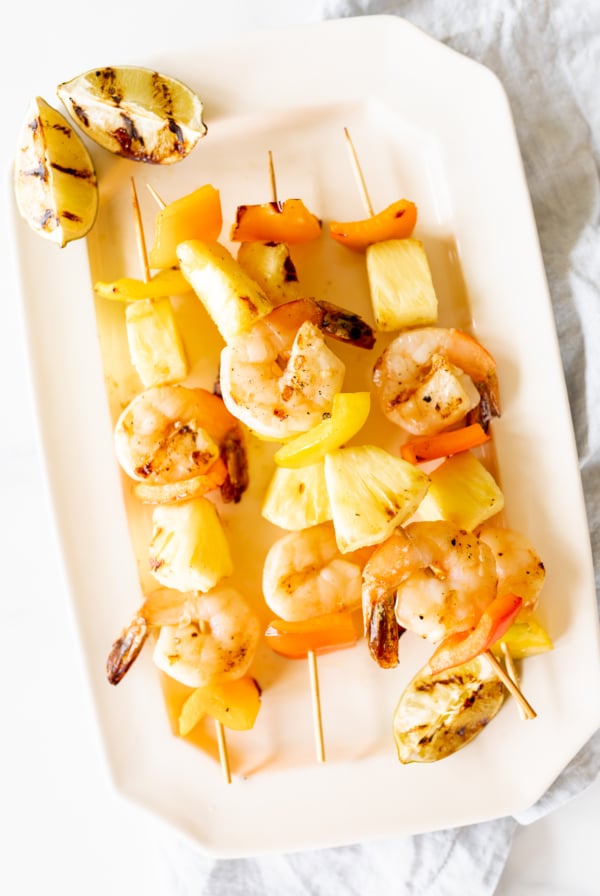
Labor Day Recipes
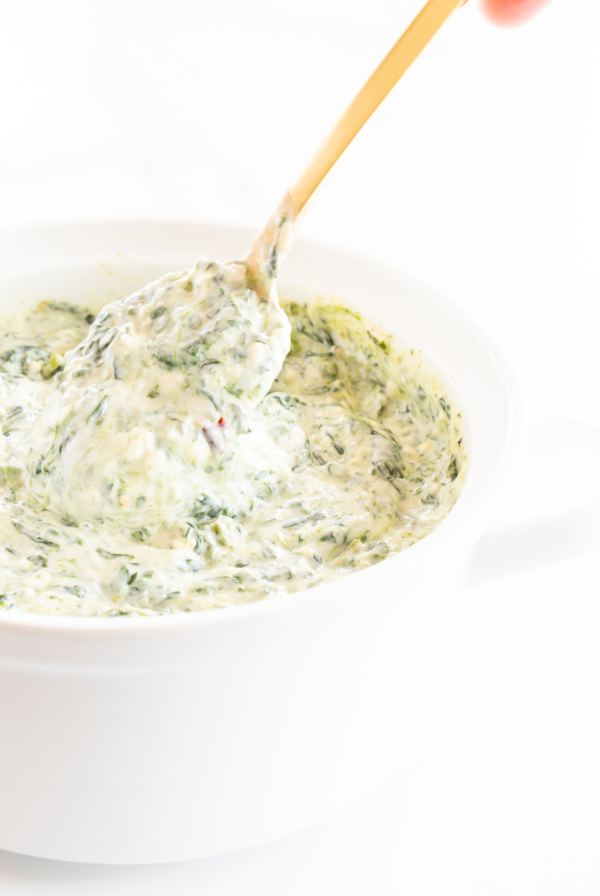
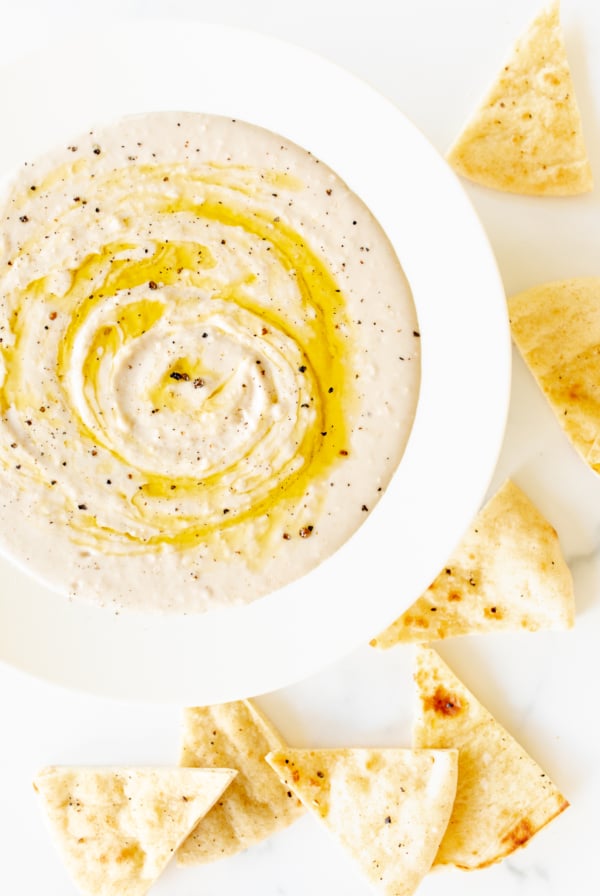
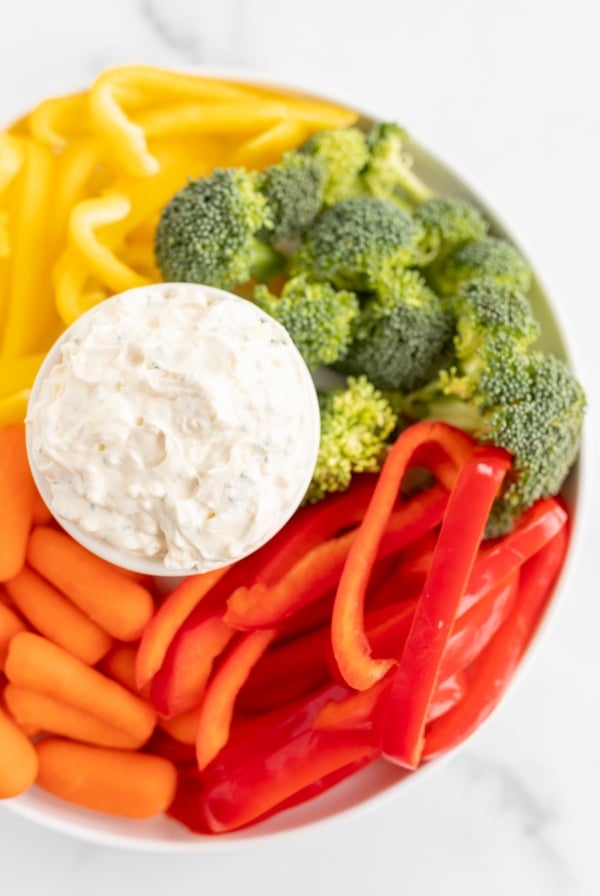
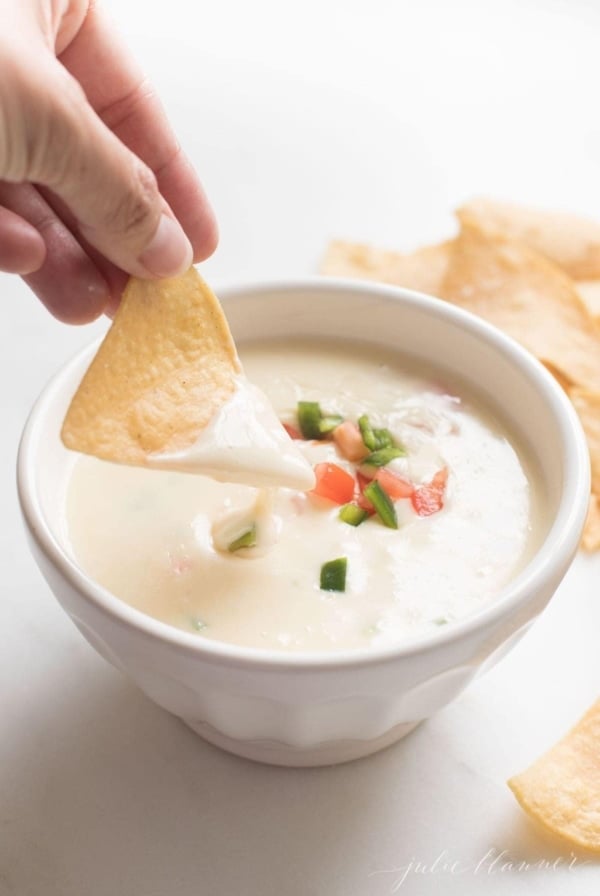
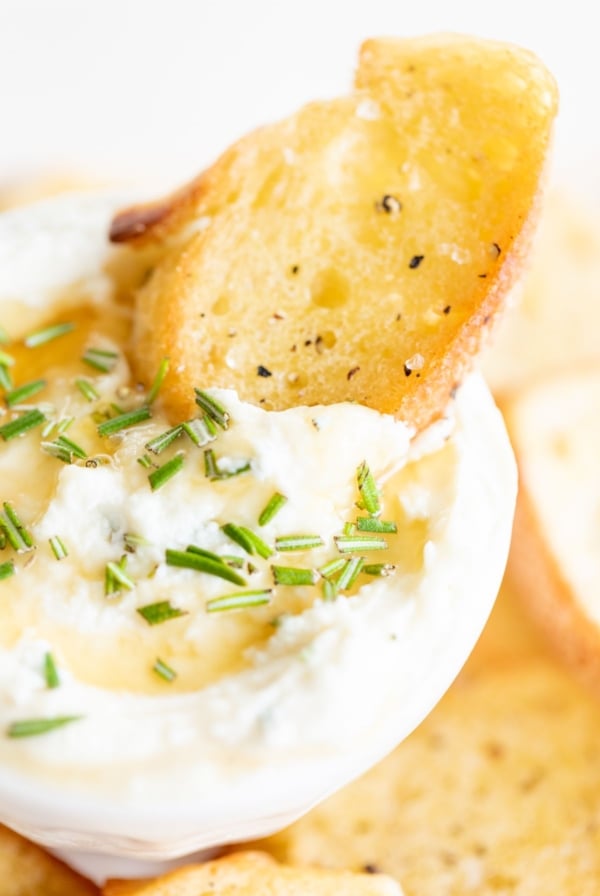
Delicious Dips
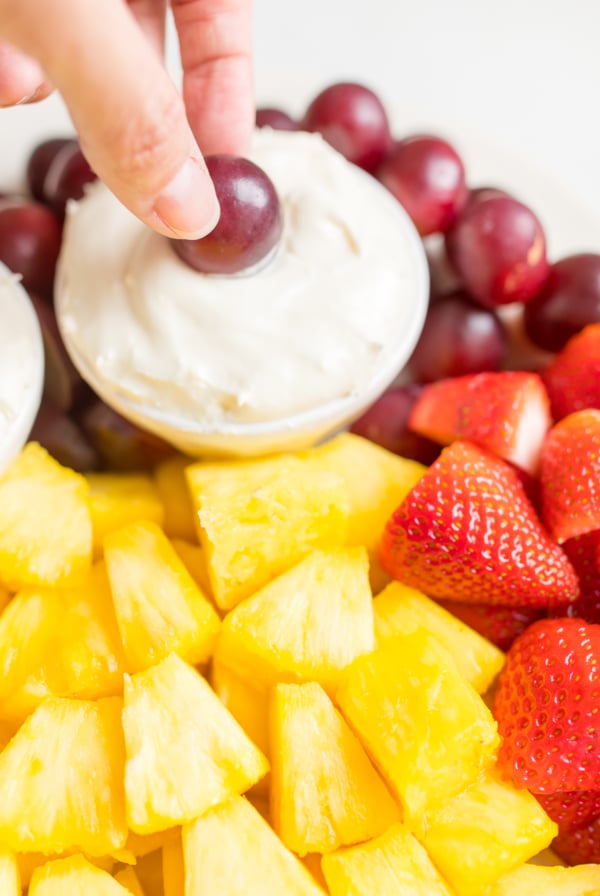
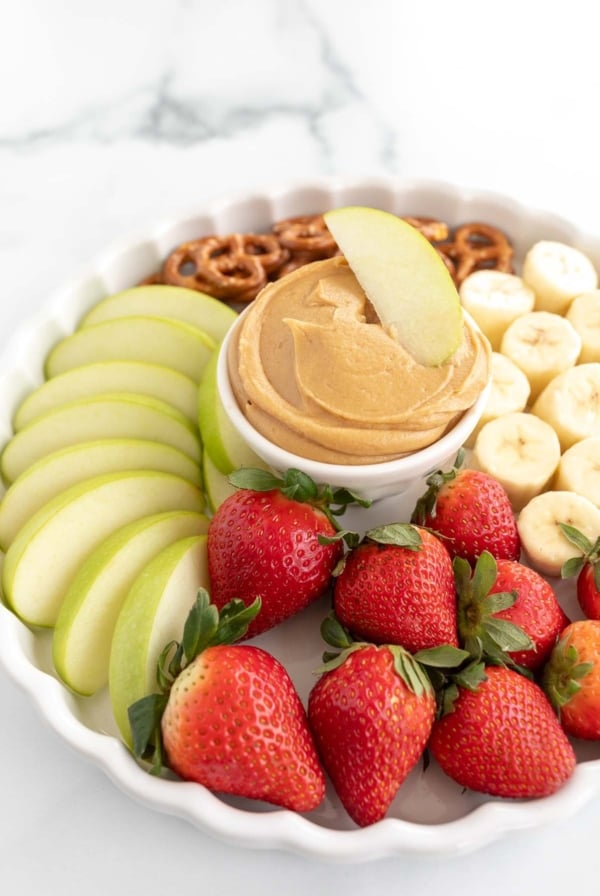
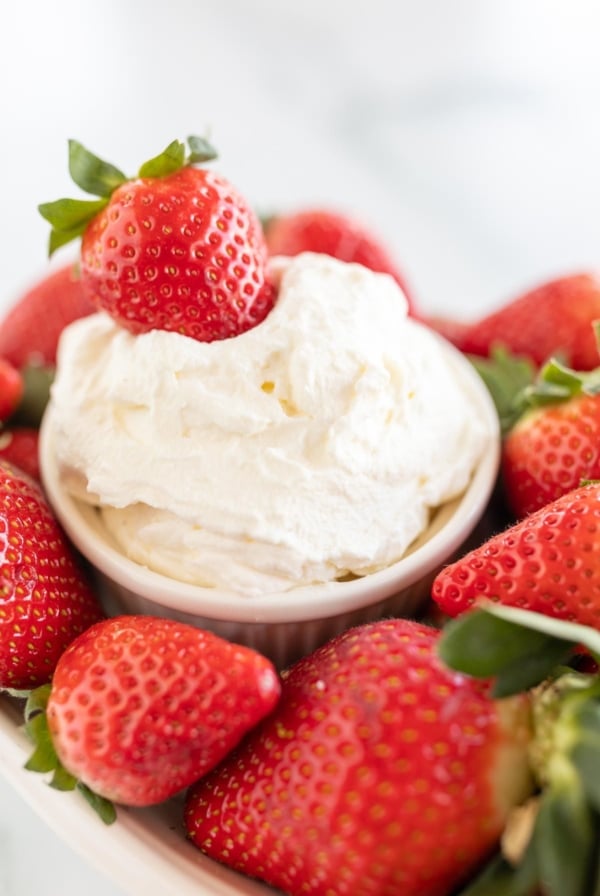
Fruit Dips
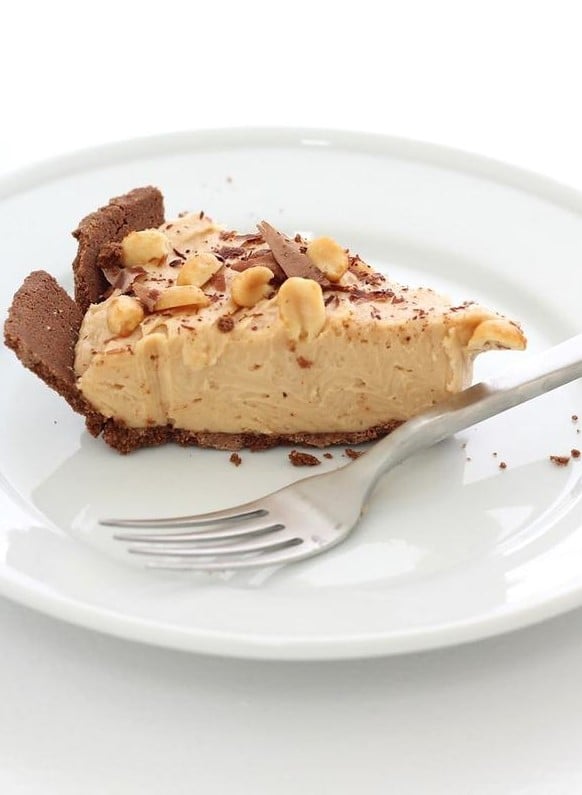
No Bake Treats
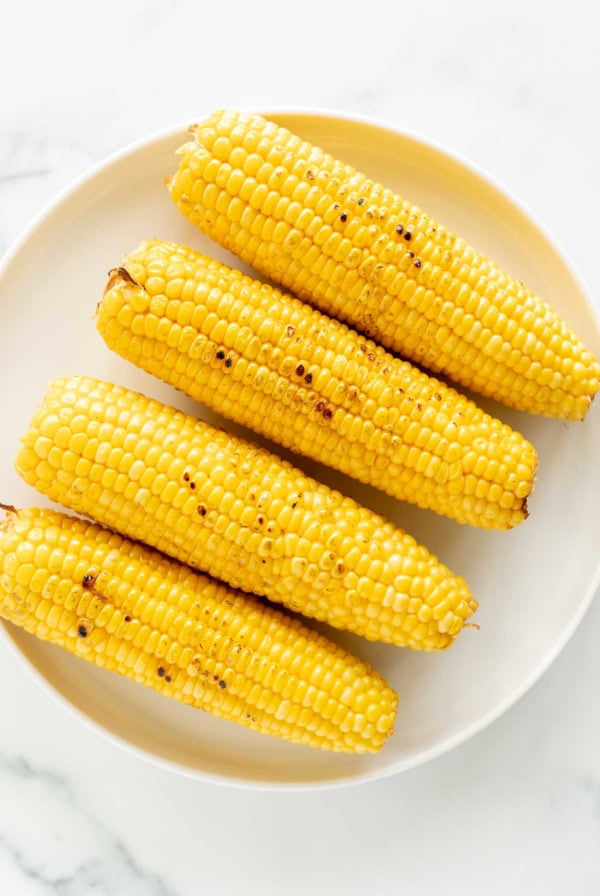
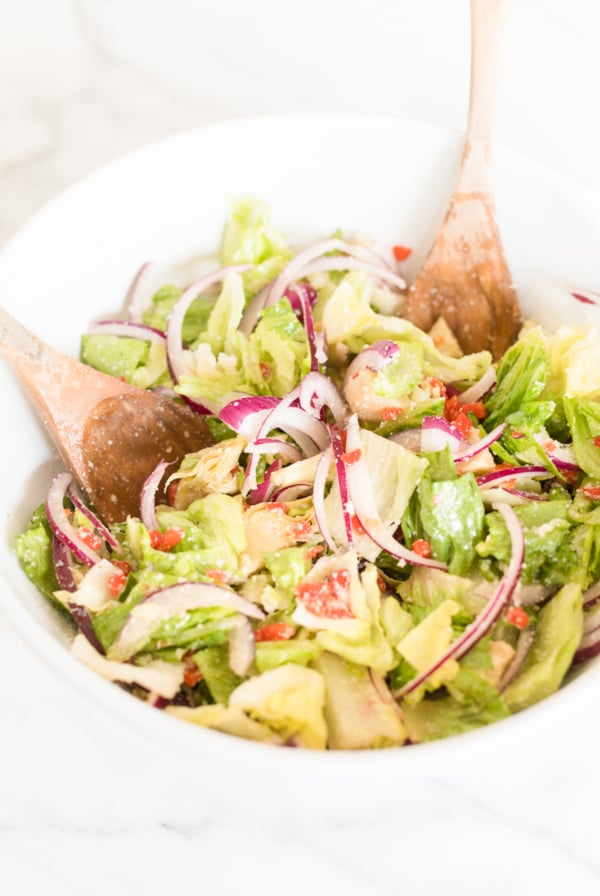
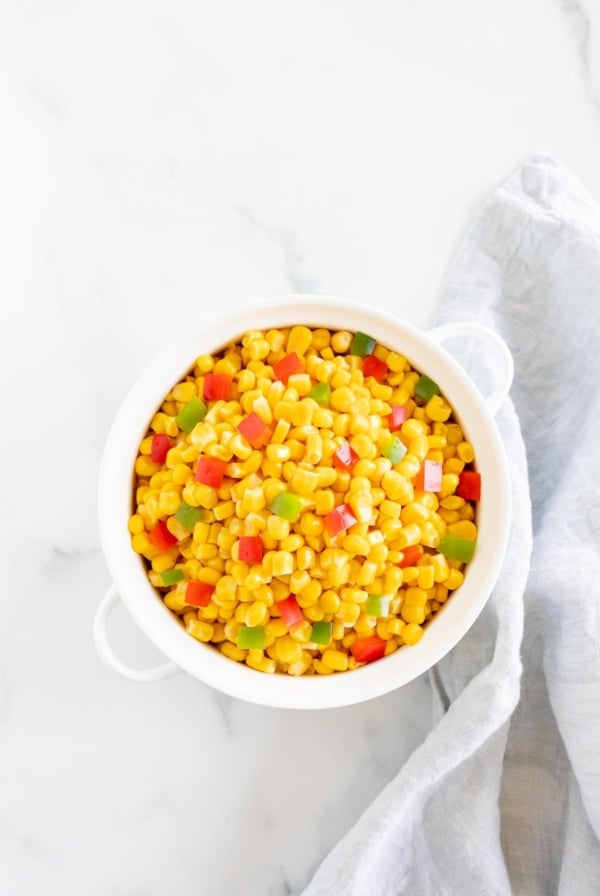
Summer Side Dishes
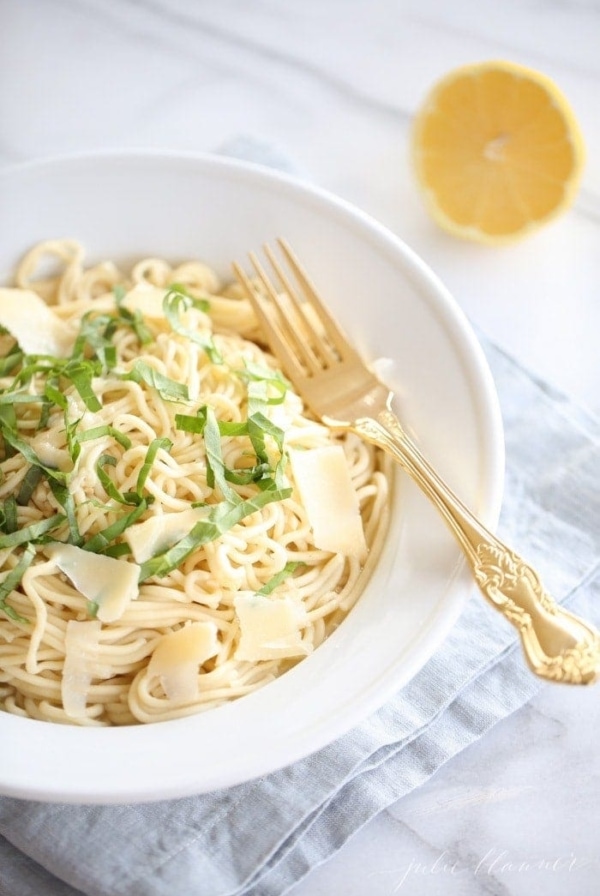
Light and Easy
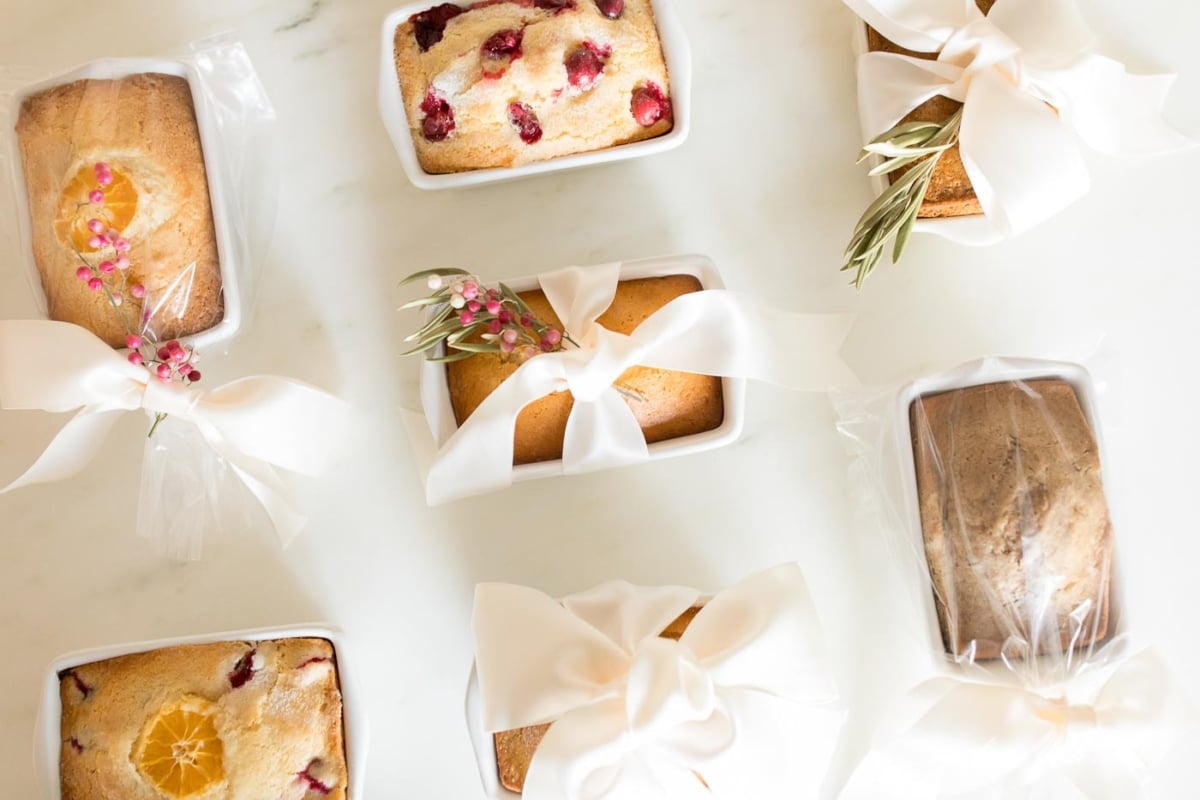
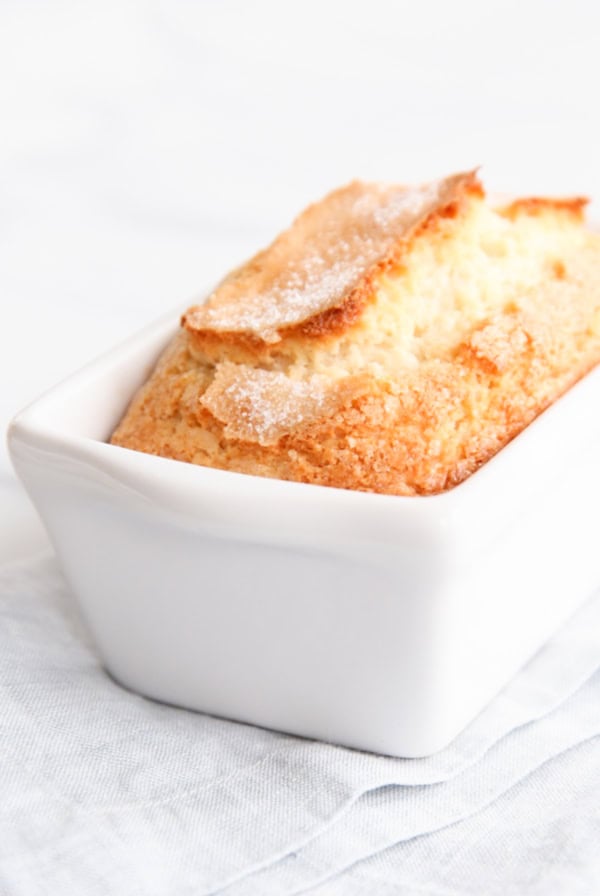
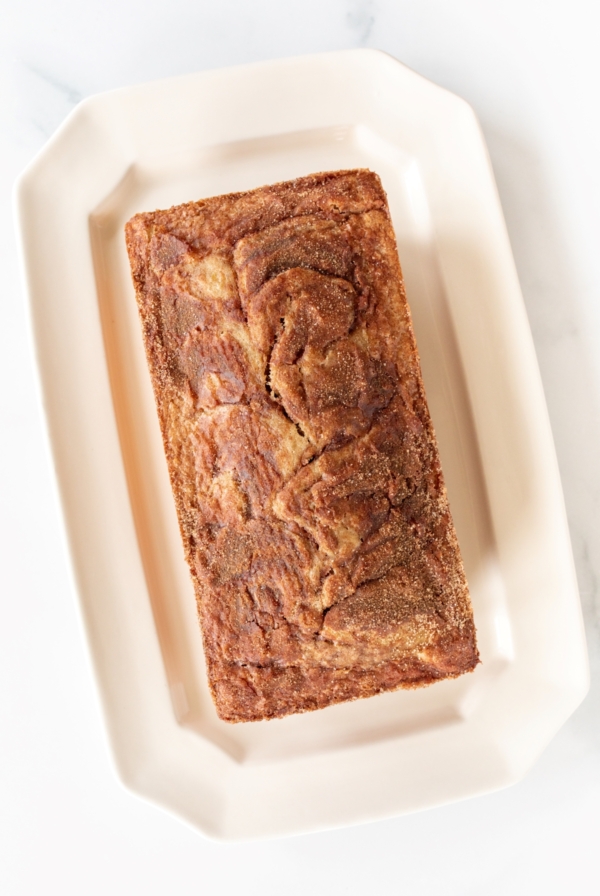
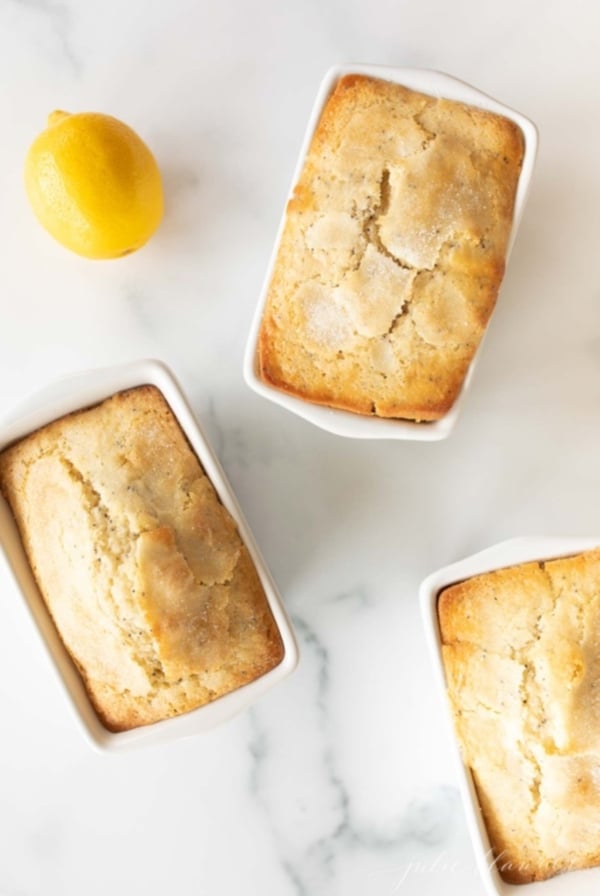
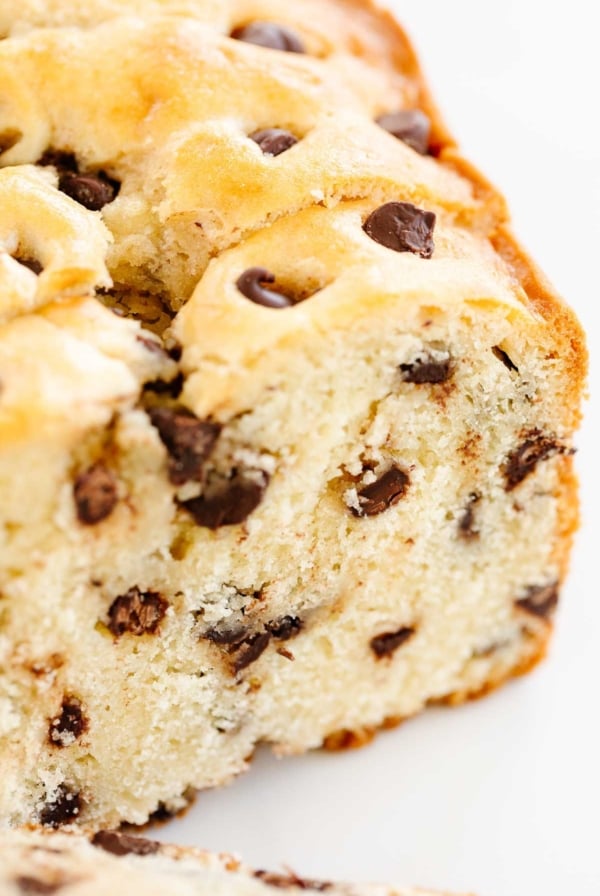
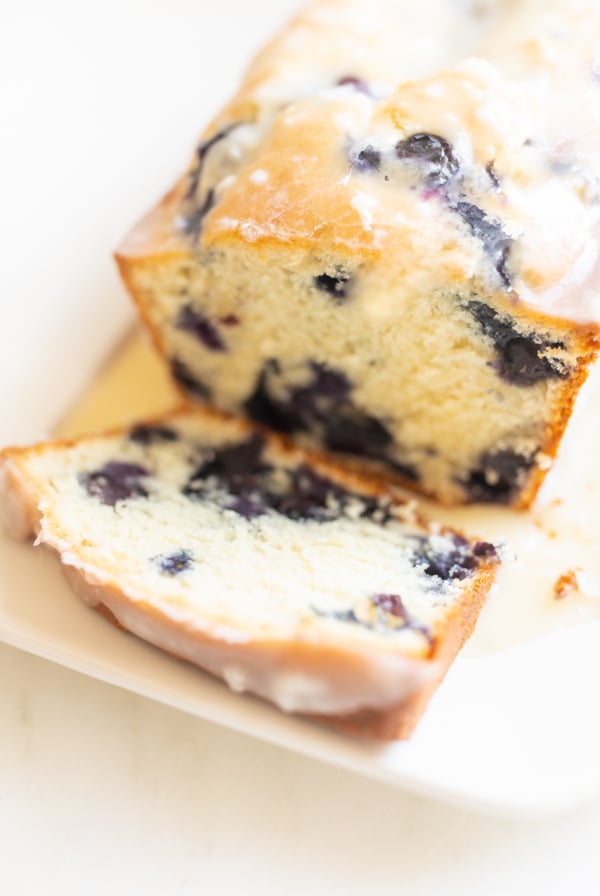
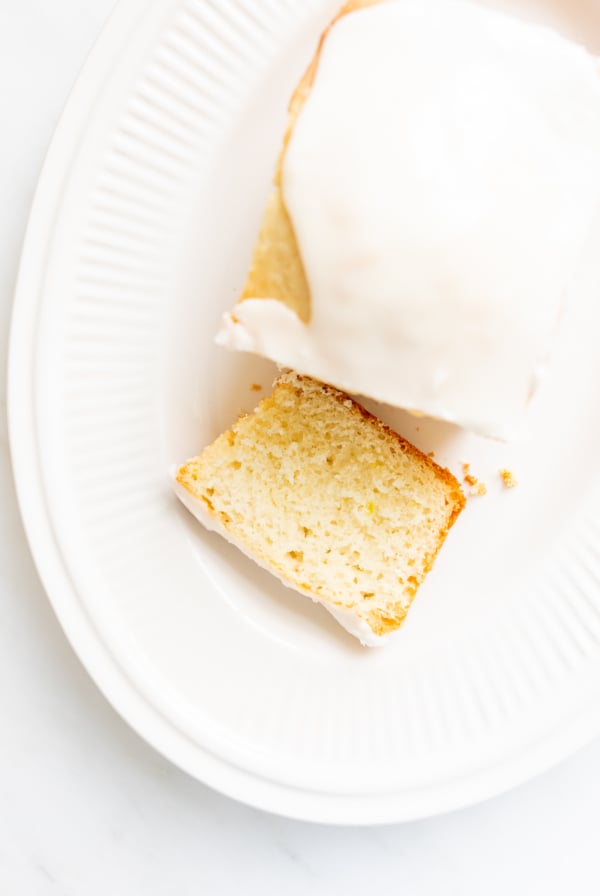
Most Popular Bread Recipes
The Best Cooking & Baking Tips & Substitutions
Gain confidence in the kitchen with these foolproof tips, how to’s, detailed guides and substitutions for cooking and baking.
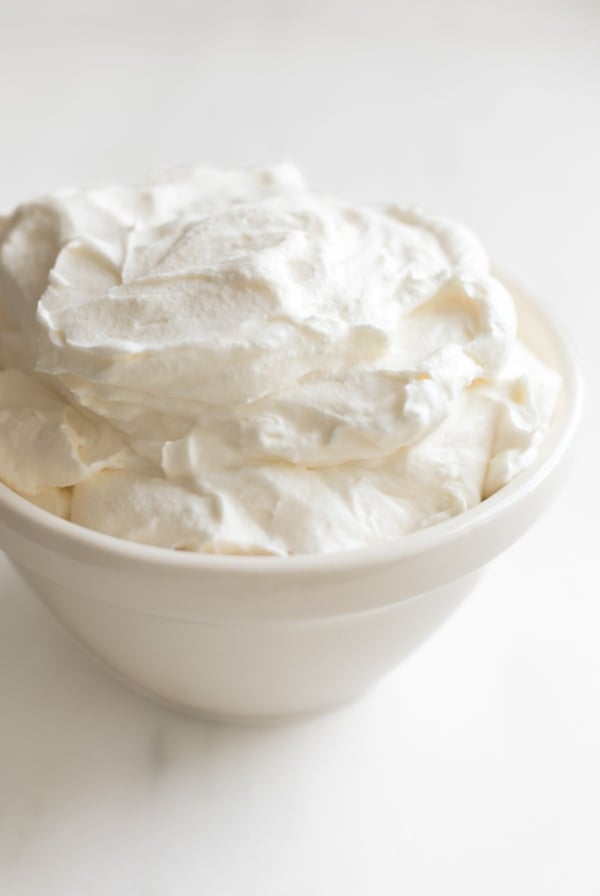
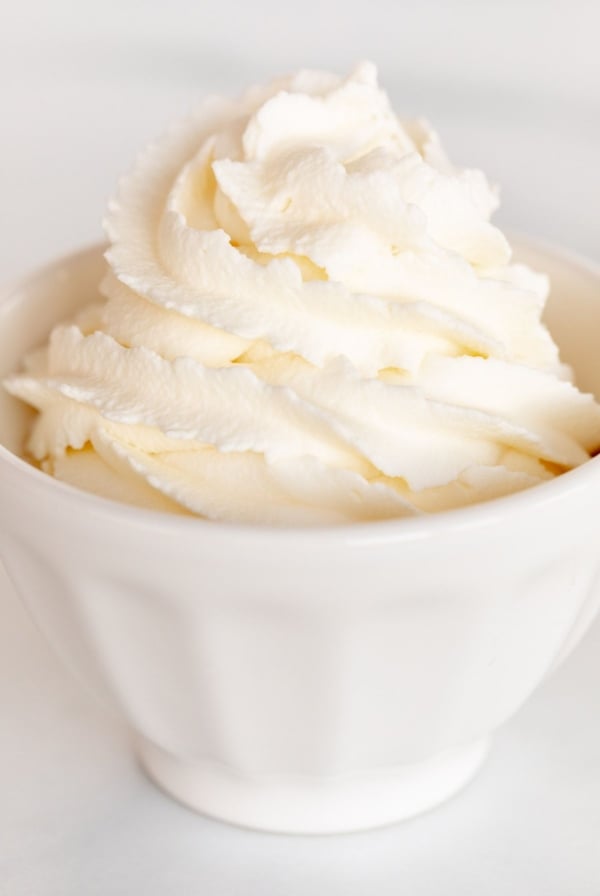
Delicious Dessert Toppings
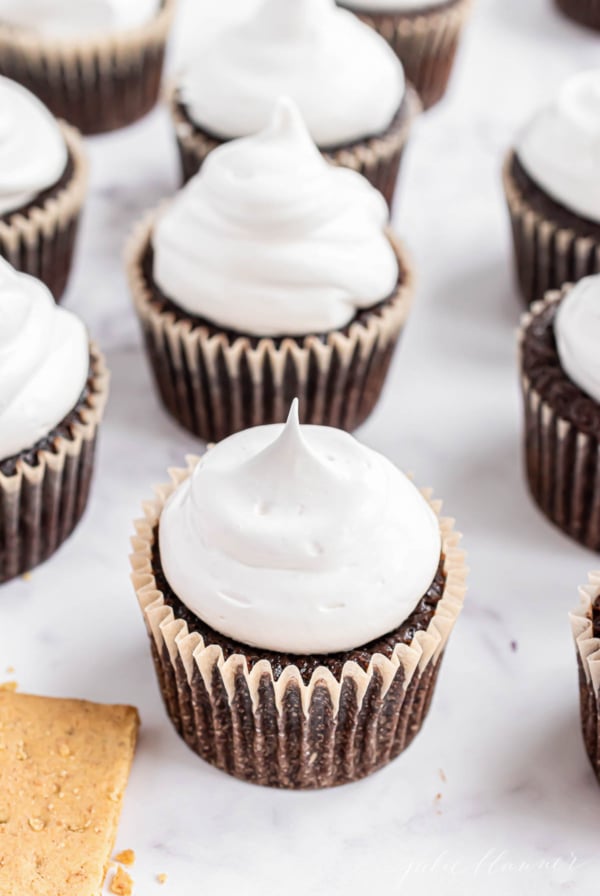
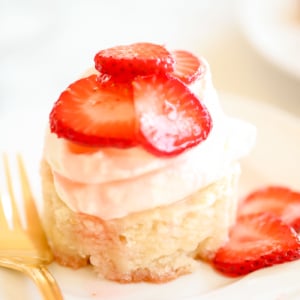
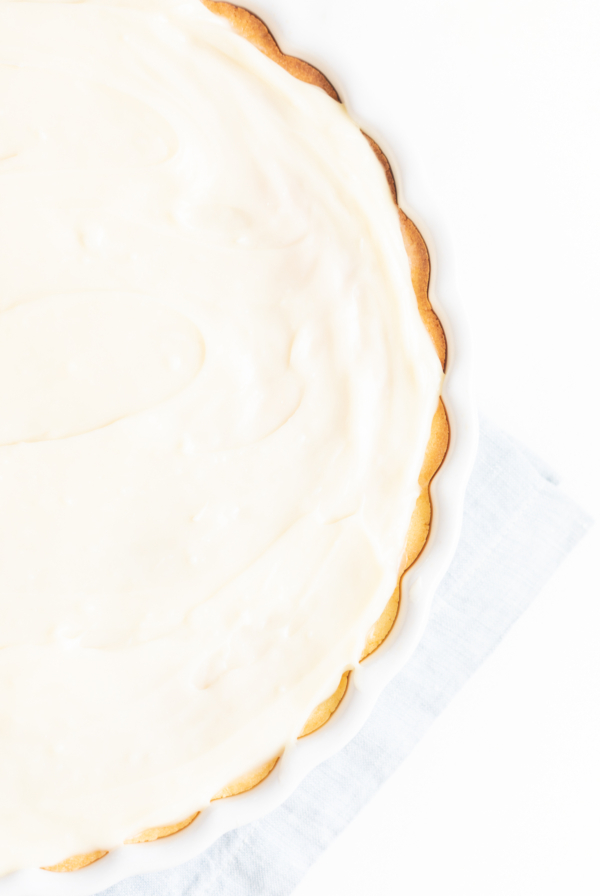
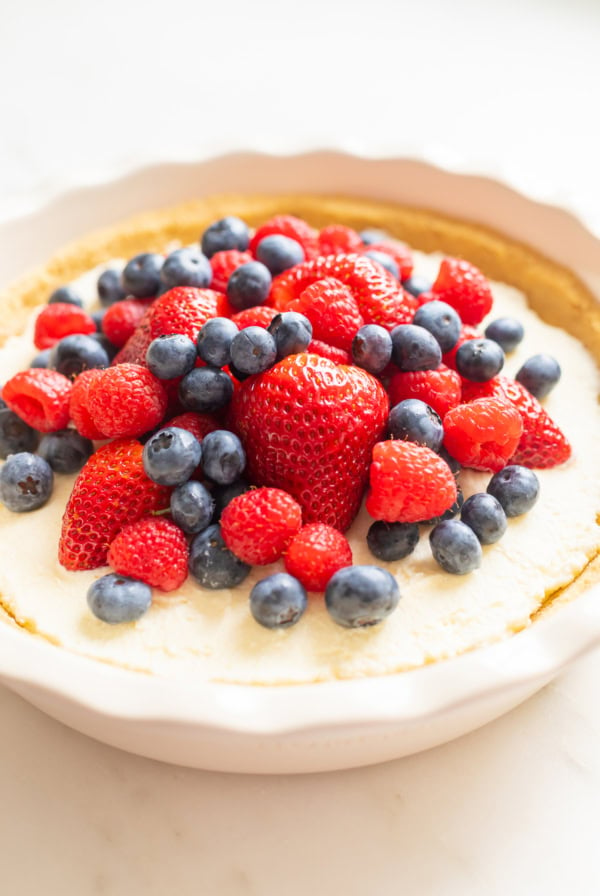
Classic Summer Dessert
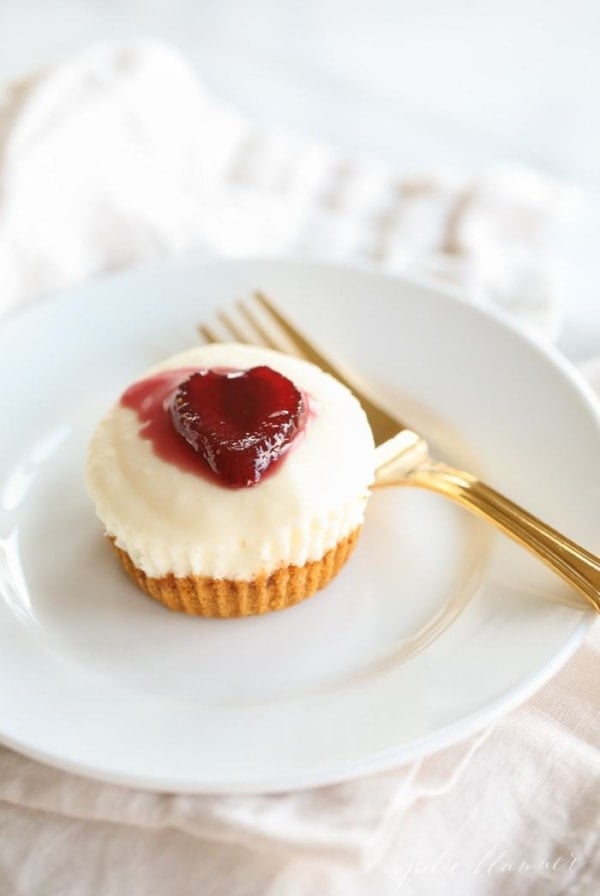
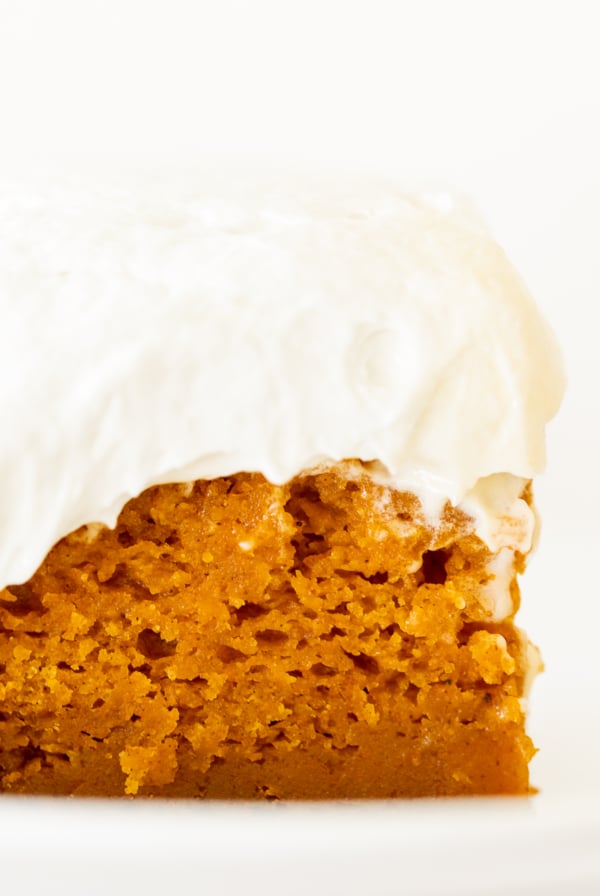
Cakes Cupcakes & Bars
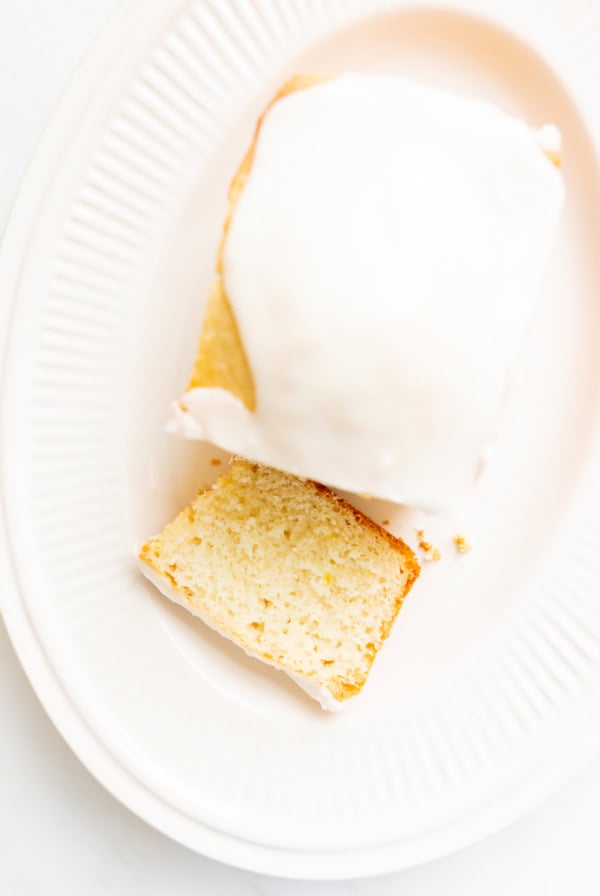
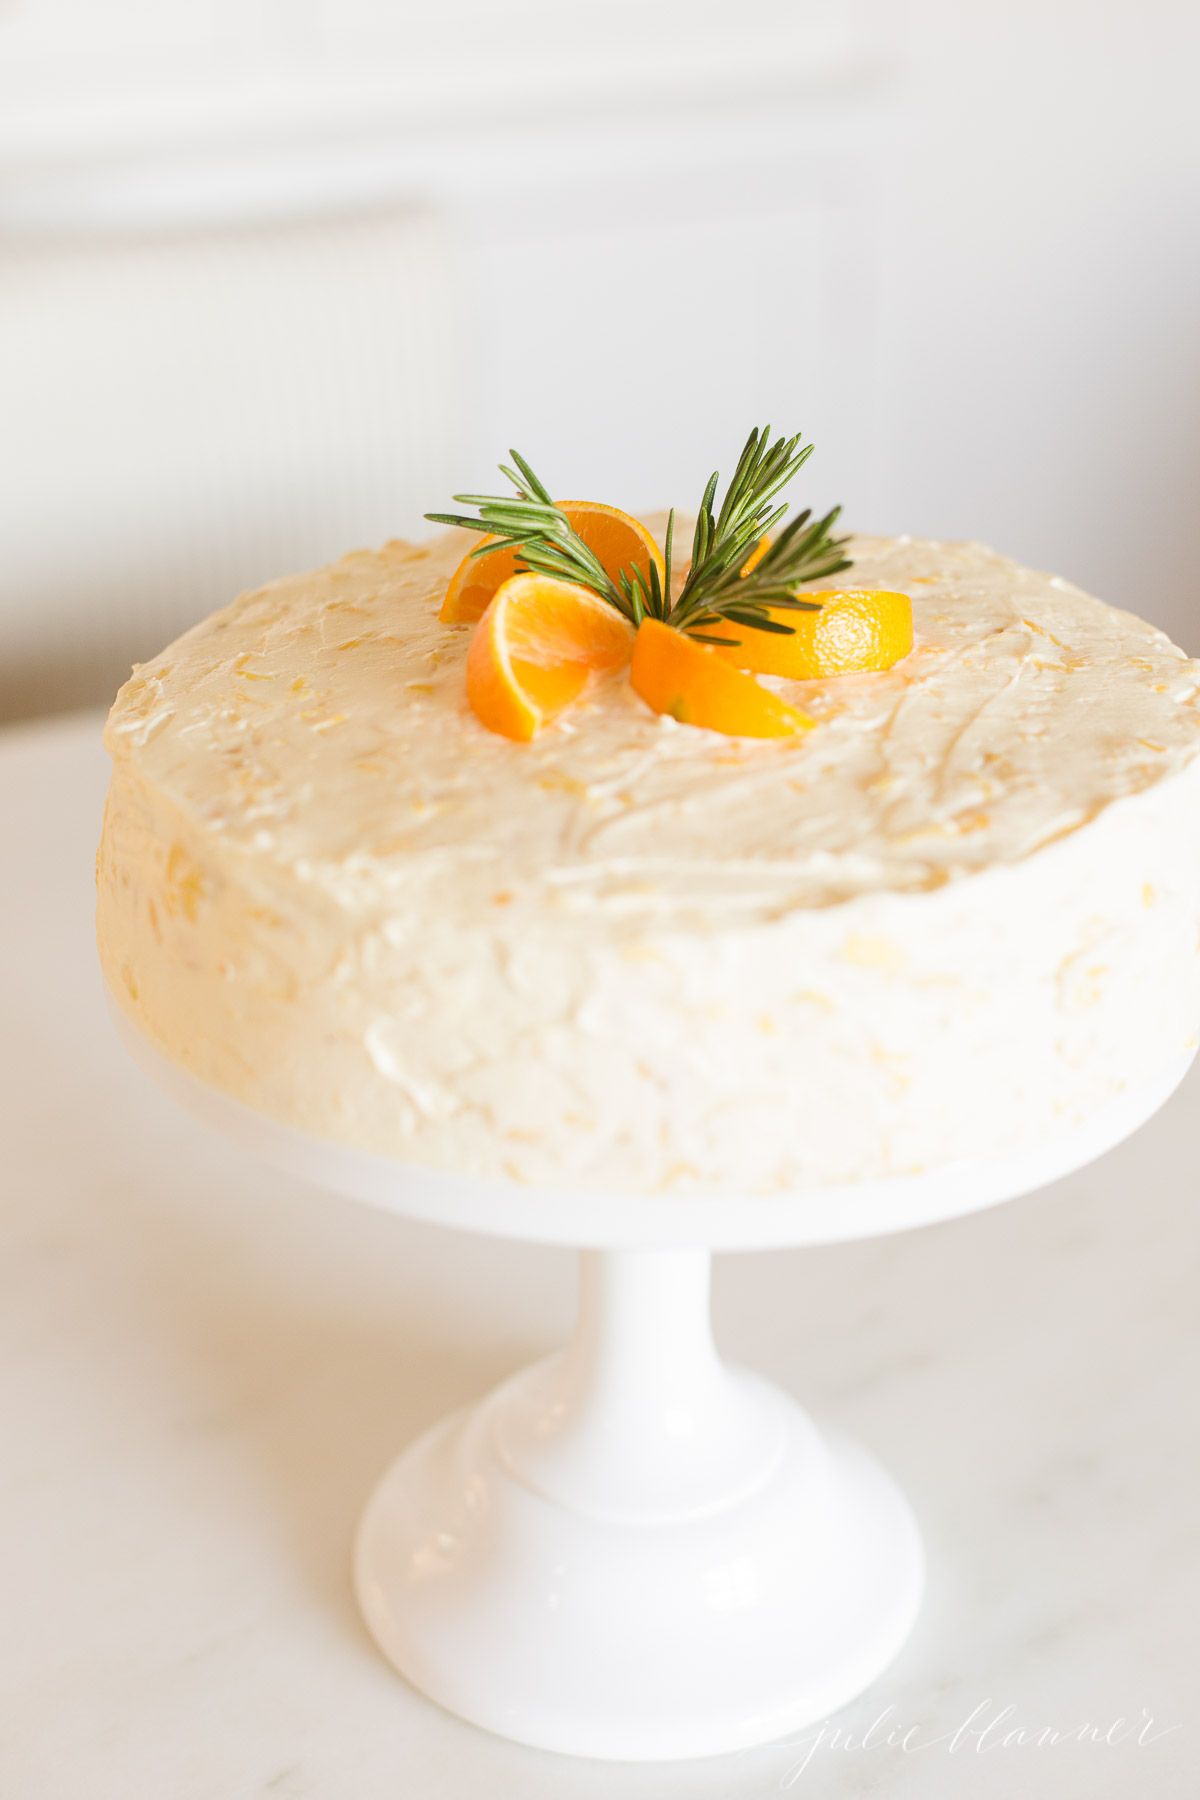
Mandarin Orange Cake (Made From Scratch)
This beautiful made-from-scratch Mandarin Orange Cake is easy to make, especially with the help of little hands. It’s a fresh twist on an old classic – Mandarin Cake made without Cool Whip or cake mix. Read More
50 mins


